Capture
Open Record, choose a tab, window, or screen, select microphone and quality, then finish the recording when the workflow is complete.
Open Record →A practical guide to the current CapyCue workflow, from browser capture through AI enhancement and delivery.
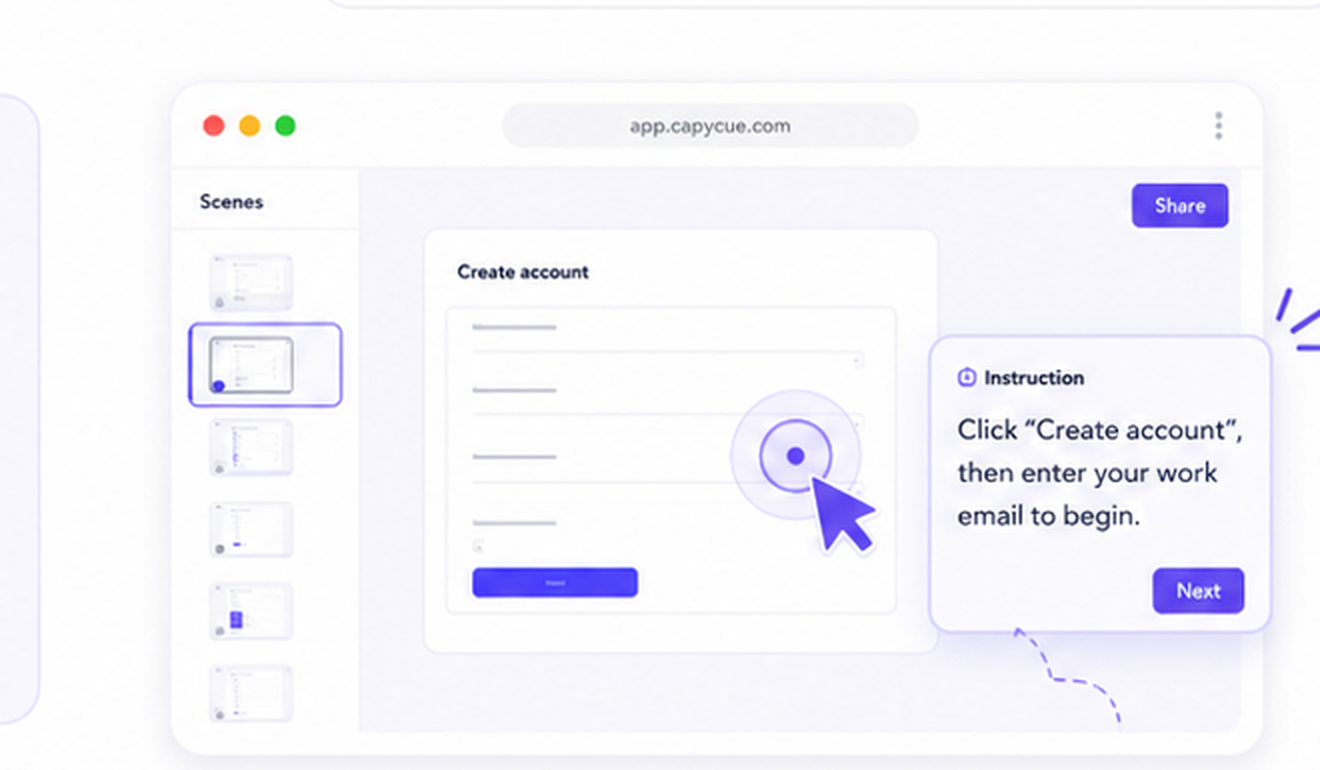
Use a short, real workflow while learning the product.
Open Record, choose a tab, window, or screen, select microphone and quality, then finish the recording when the workflow is complete.
Open Record →Name the recording, start Capy AI, then edit the title, description, walkthrough bullets, voiceover, and preferred voice.
Save, reprocess when media should change, export a file, create a share link, or copy the embed code.
The product separates source media, editable content, rendered versions, and usage accounting.
The original captured media remains the recoverable source for future edits and renders.
Transcription, scene analysis, script writing, narration, and rendering consume AI-enhanced minutes.
A version is a preserved rendered result. Editing text is free; requesting a new render can consume AI minutes.
Use the recorder to capture your question, or contact support for help with your workspace.